Best Practices for Installing Solar Security Cameras
Key Takeaways
- Choose optimal locations with sunlight exposure for solar panels.
- Ensure secure mounting on structures for stability.
- Test camera functionalities before finalizing installation.
- Utilize apps to monitor and manage your security camera settings.
- Regularly check camera positions to maintain effective coverage.
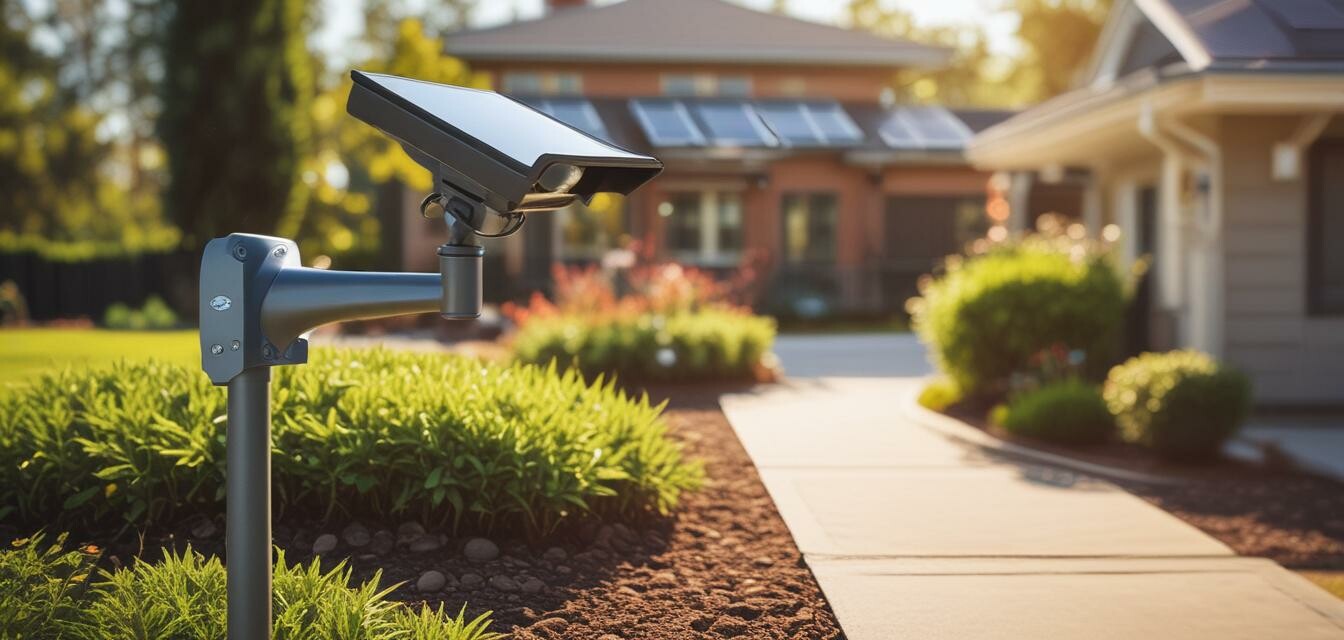
Installing solar security cameras is a fantastic way to enhance your home security while benefiting from renewable energy. This guide walks you through the best practices for installing your solar security cameras to ensure you're maximizing their effectiveness and efficiency.
Why Choose Solar Security Cameras?
- Environmentally friendly operation.
- No monthly fees for power.
- Easy installation and flexible placement.
- Continuous power supply when properly placed.
Step-By-Step Installation Guide
1. **Selecting the Right Camera**
Your choice of solar security camera is crucial. Popular options include:
 Top Choice
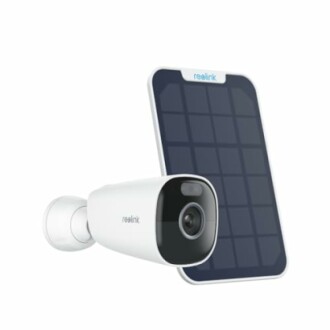
REOLINK Argus Eco Pro
Wireless outdoor camera with 5MP resolution and adjustable solar panel for continuous power.
Learn More2. **Identify Ideal Locations**
Finding the optimal location is essential for effective usage. Consider the following:
- Placement facing entrances or driveways for maximum visibility.
- Avoid positions obstructed by trees or buildings.
- Prioritize areas with maximum sunlight for solar panel efficiency.
3. **Mounting the Camera**
Installing the camera securely is vital for residential security. Follow these steps:
- Use the included mounting brackets.
- Ensure the camera is at least 7-10 feet high for better field view.
- Tighten screws firmly to avoid any movement.
- Use sealants if installing on porous materials to prevent water ingress.
4. **Connecting Solar Panels**
Installing the solar panel is as crucial as the camera. Here’s how to do it:
- Ensure the panel is positioned to capture direct sunlight.
- Connect the solar panel cable to the camera.
- Adjust the angle for optimal sun exposure.
5. **Testing Your System**
Before finishing the installation, conduct system checks:
- Check video quality and clarity.
- Test motion detection settings.
- Verify solar panel charging status.
Recommended Solar Security Cameras
 Ultimate Protection
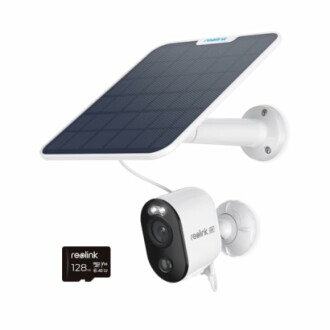
REOLINK 4K Solar Security Camera
High-definition 4K camera with adjustable solar panel and AI detection features.
Learn MoreMaintaining Your Solar Security Cameras
To ensure longevity and functionality, regularly maintain your security cameras by:
- Cleaning the solar panels to avoid dirt blocking sunlight.
- Checking camera positioning periodically.
- Updating camera software through the app.
Conclusion
By following the outlined steps and utilizing the right equipment, you can enhance your home security with solar-powered cameras. Their low maintenance and eco-friendly benefits make them a wise choice for modern security needs.