Home Security Camera Installation: A Comprehensive Guide
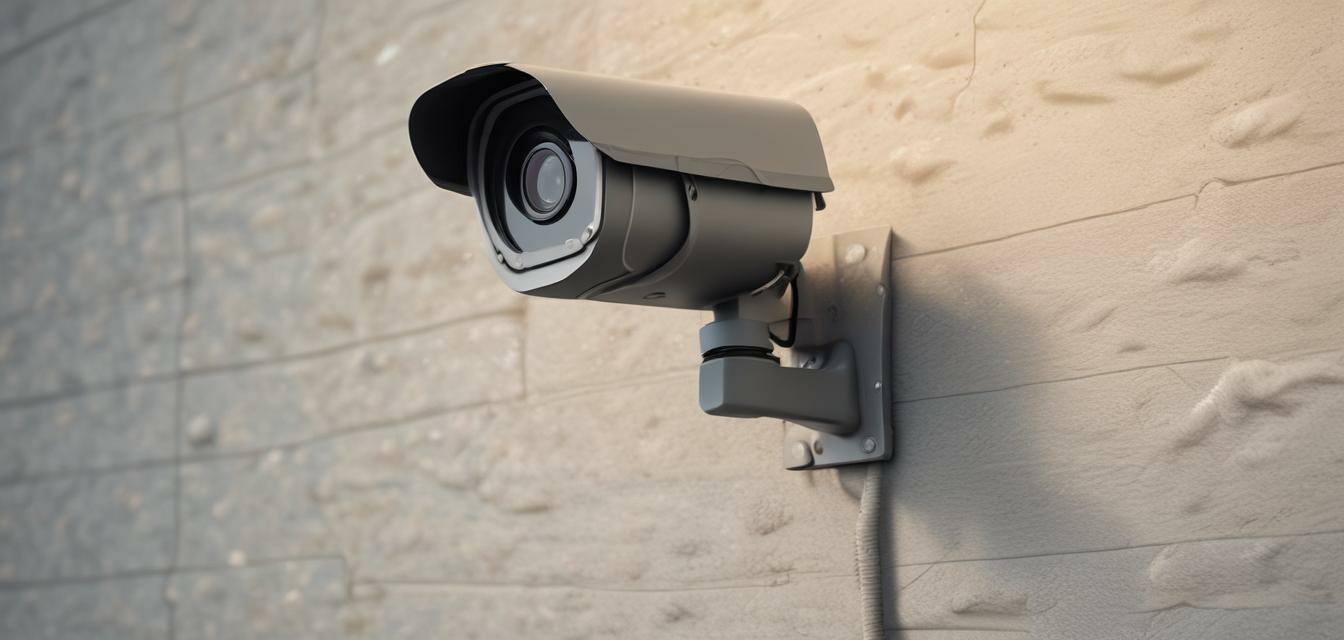
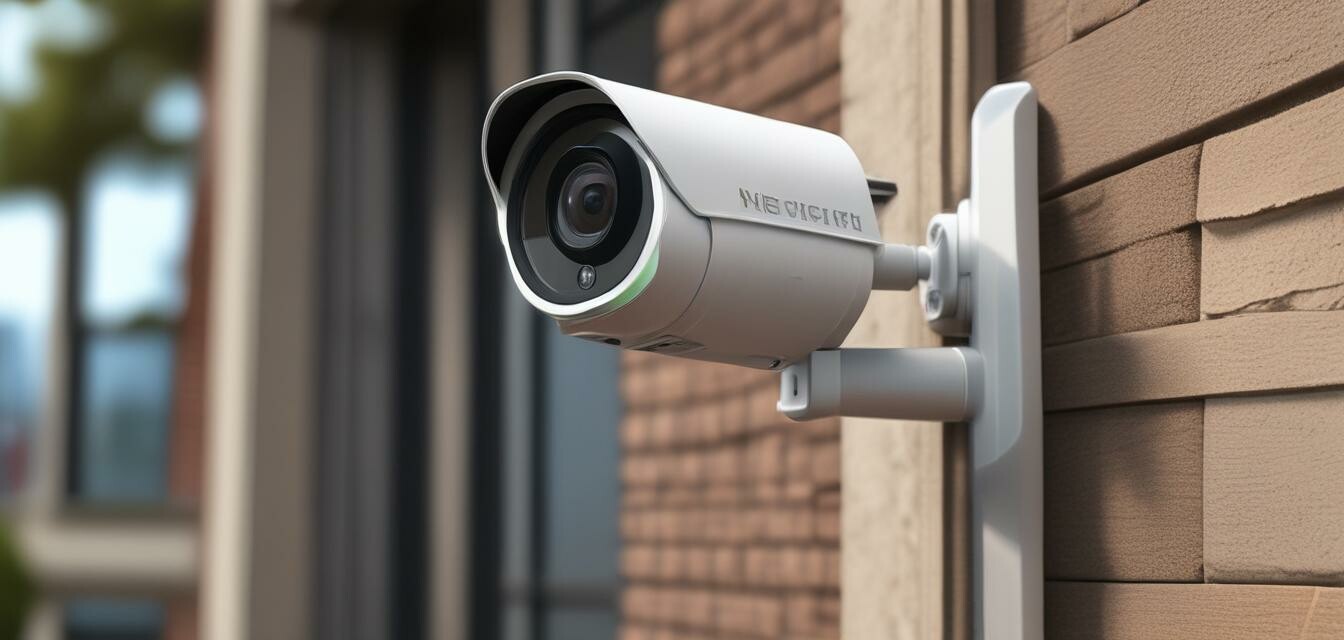
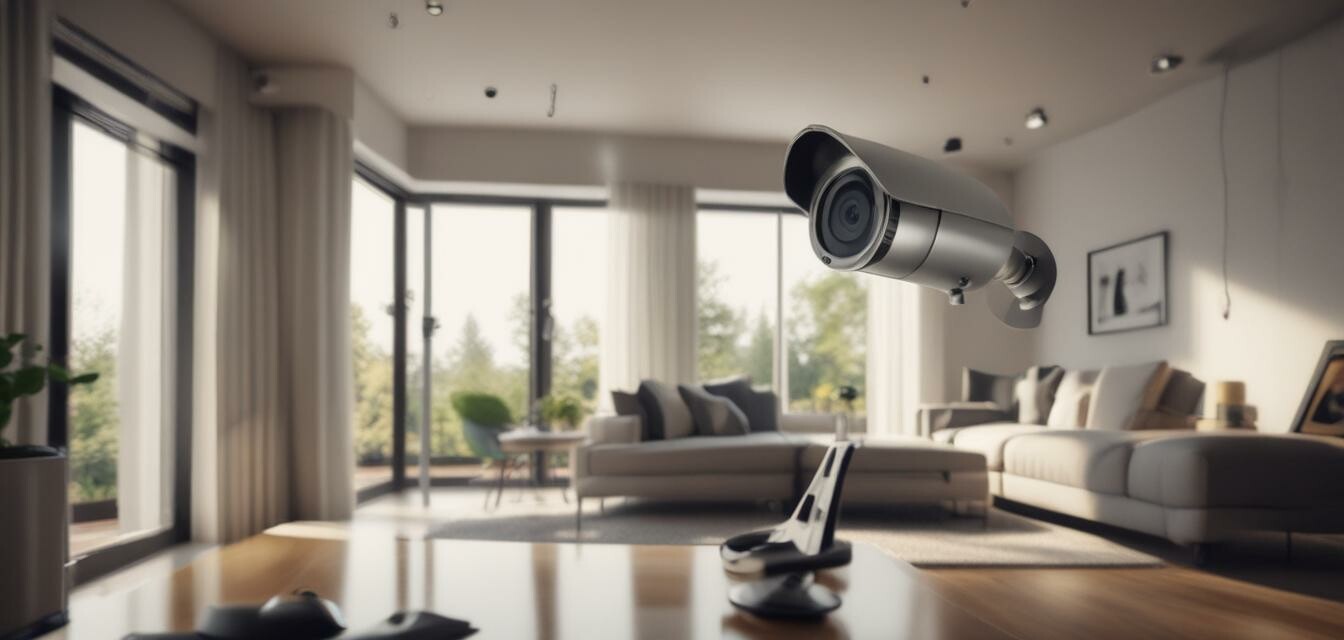
Installing security cameras in your home can be a crucial step in protecting your property and loved ones from potential threats. In this article, we will walk you through the tools needed and provide step-by-step installation instructions to help you get started.
Key Takeaways
- Choose the right security camera type for your needs
- Plan the camera placement and wiring
- Prepare the necessary tools and materials
- Follow the step-by-step installation instructions
Choosing the Right Security Camera Type
Before you start the installation process, it's essential to choose the right security camera type for your needs. Here are some factors to consider:
| Camera Type | Features | Pros | Cons |
|---|---|---|---|
| Wired Cameras | Reliable connection, high-quality video | Stable connection, high video quality | Difficult to install, limited flexibility |
| Wireless Cameras | Easy installation, flexible placement | Easy to install, flexible placement | Interference issues, battery life concerns |
| Solar-Powered Cameras | Environmentally friendly, low maintenance | Environmentally friendly, low maintenance | Weather dependent, limited power |
Consider factors such as your budget, the size of your property, and the level of security you need when choosing a security camera type.
Planning Camera Placement and Wiring
Once you've chosen your security camera type, it's time to plan the camera placement and wiring. Here are some tips to consider:
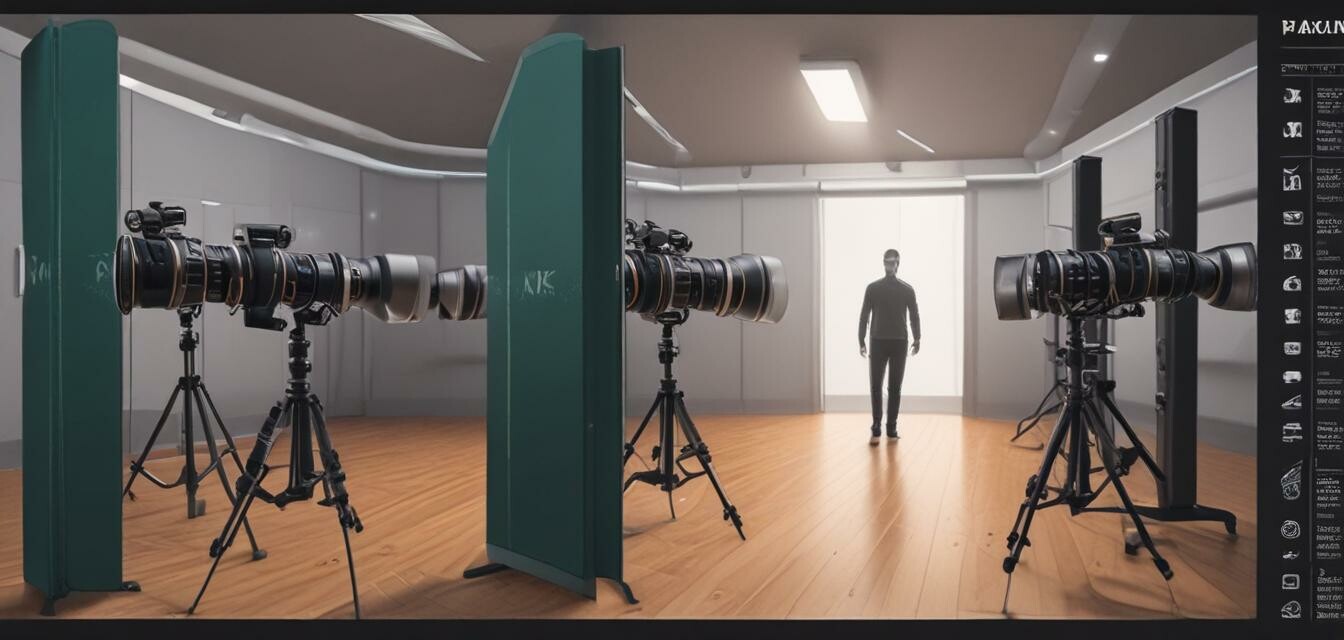
- Identify potential blind spots and high-risk areas
- Consider the field of view and camera angle
- Plan the wiring and cable management
- Check local regulations and homeowners' association rules
Preparing the Necessary Tools and Materials
Before you start the installation process, make sure you have the necessary tools and materials. Here's a list of what you'll need:
- Security camera(s)
- Mounting brackets and screws
- Power adapter and cables
- Drill and drill bits
- Wire strippers and cable ties
- Ladder and safety gear
Step-by-Step Installation Instructions
Now that you have the necessary tools and materials, it's time to start the installation process. Here's a step-by-step guide to help you get started:
- Determine the camera placement and mounting method
- Drill holes for the mounting brackets and screws
- Mount the camera and secure it with screws
- Connect the power adapter and cables
- Configure the camera settings and software
- Test the camera and make any necessary adjustments
Pros
- Enhanced home security and peace of mind
- Deterrent to potential intruders
- Real-time monitoring and recording capabilities
Cons
- Initial investment costs
- Installation and setup challenges
- Privacy concerns and potential legal issues
Conclusion
Installing security cameras in your home can be a crucial step in protecting your property and loved ones. By following this guide, you can ensure a successful installation and enjoy the benefits of enhanced home security.
For more information on security cameras and home automation systems, check out our articles on CCTV Systems, Home Automation Systems, and Smart Doorbell Cameras.

Remember to always follow local regulations and safety guidelines when installing security cameras in your home.
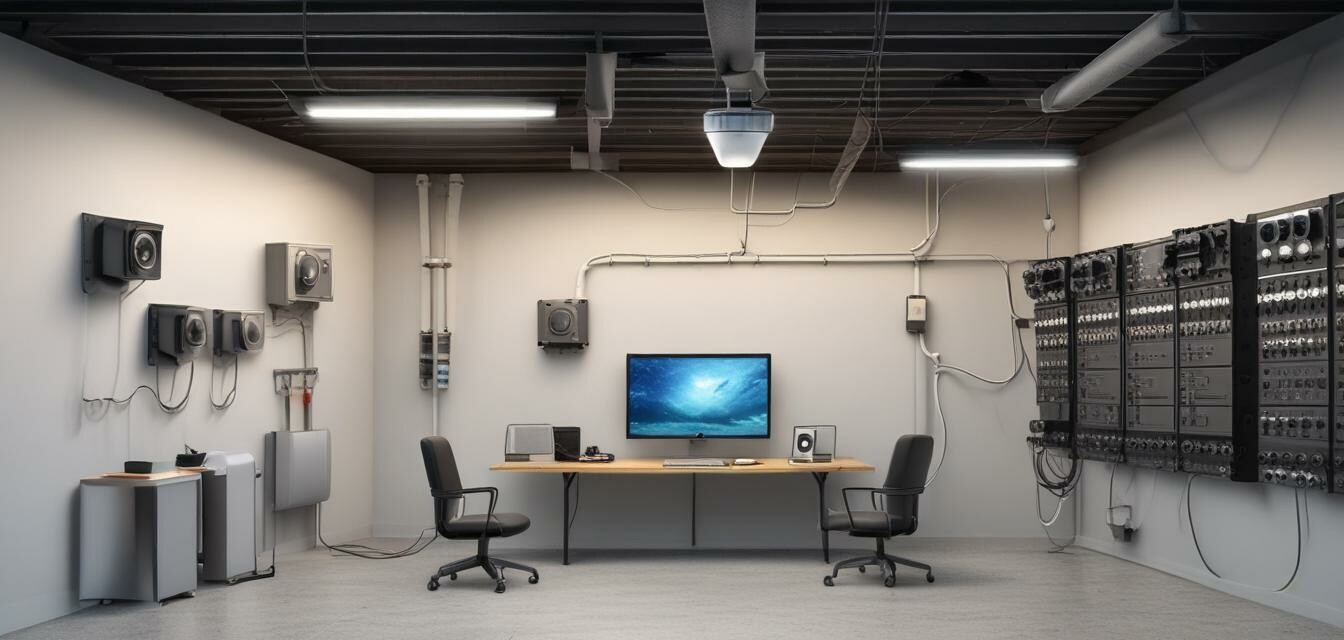
By following these tips and guidelines, you can ensure a successful installation and enjoy the benefits of enhanced home security.
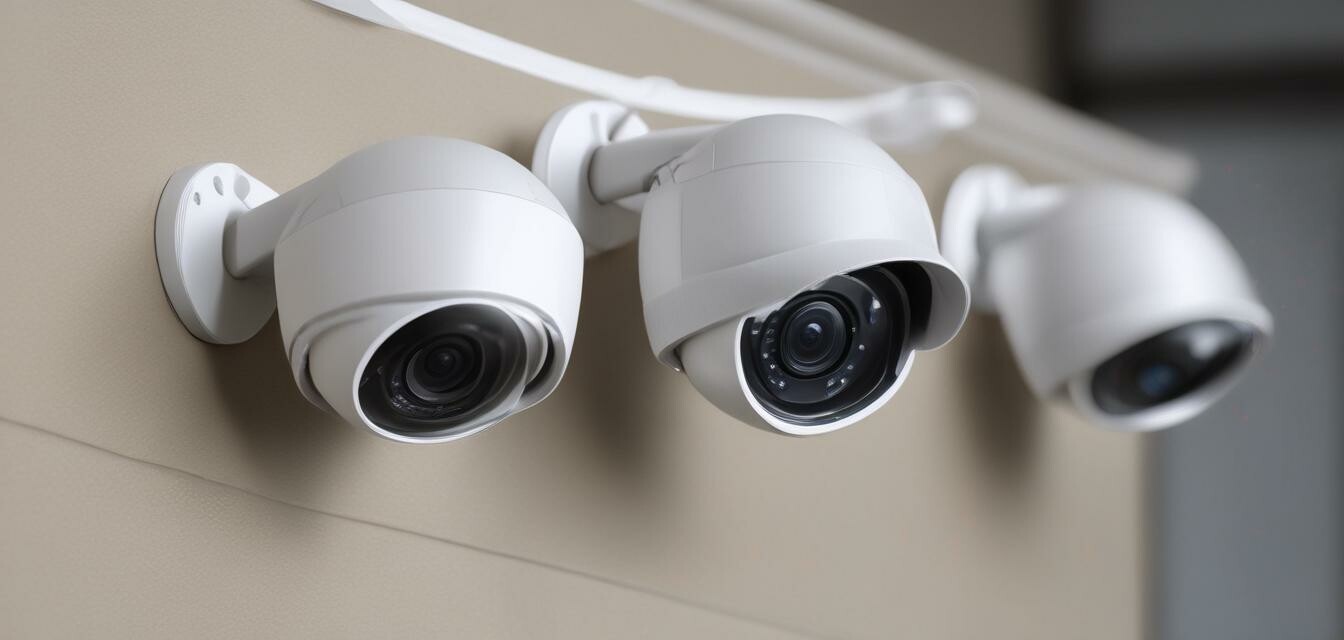
For more information on security cameras and home security, check out our article on Security Alarms & Sensors.


